Difference between revisions of "Apollo 9Plus - Touch Screen Battery Operated Ultrasound Machine"
m (Protected "Apollo 9Plus - Touch Screen Battery Operated Ultrasound Machine" ([Edit=Allow only administrators] (indefinite) [Move=Allow only administrators] (indefinite)) [cascading]) |
|||
| (2 intermediate revisions by the same user not shown) | |||
| Line 4: | Line 4: | ||
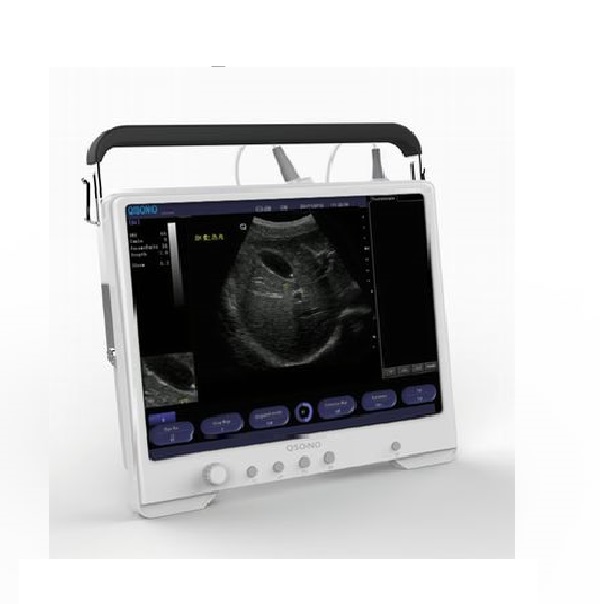
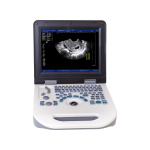
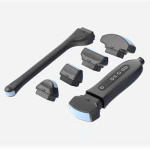
|description= Apollo 9 is the most cheapest Ultrasound Machines in touch screen models. Its easy to use and precise in working. | |description= Apollo 9 is the most cheapest Ultrasound Machines in touch screen models. Its easy to use and precise in working. | ||
}} | }} | ||
| − | |||
__NOTOC__ | __NOTOC__ | ||
{| style="background-color: #white; width: 85%; margin: auto; text-align:left" | {| style="background-color: #white; width: 85%; margin: auto; text-align:left" | ||
| Line 13: | Line 12: | ||
[[File:Apollo 9 Plus - Touch Screen Battery Operated Ultrasound Machine.jpg|center|link=Apollo 9Plus - Touch Screen Battery Operated Ultrasound Machine]] | [[File:Apollo 9 Plus - Touch Screen Battery Operated Ultrasound Machine.jpg|center|link=Apollo 9Plus - Touch Screen Battery Operated Ultrasound Machine]] | ||
| − | |||
===Technical Specification === | ===Technical Specification === | ||
| − | {| class="wikitable" style="background-color: #white; width: | + | {| class="wikitable" style="background-color: #white; width: 100%; margin: auto; text-align:left" |
| style="width: 20%;|B&W mode: | | style="width: 20%;|B&W mode: | ||
| B,M,2B,B/M,4B | | B,M,2B,B/M,4B | ||
| Line 42: | Line 40: | ||
=== Imaging Processing === | === Imaging Processing === | ||
| − | {| class="wikitable" style="background-color: #white; width: | + | {| class="wikitable" style="background-color: #white; width: 100%; margin: auto; text-align:left" |
| style="width: 20%; | Pre-processing: | | style="width: 20%; | Pre-processing: | ||
| | | | ||
| Line 64: | Line 62: | ||
=== Functions === | === Functions === | ||
| − | {| class="wikitable" style="background-color: #white; width: | + | {| class="wikitable" style="background-color: #white; width: 100%; margin: auto; text-align:left" |
| style="width: 20%;|Cine-loop: | | style="width: 20%;|Cine-loop: | ||
| 334 frame cine loop memory | | 334 frame cine loop memory | ||
| Line 85: | Line 83: | ||
=== Measurement & Calculations === | === Measurement & Calculations === | ||
| − | {| class="wikitable" style="background-color: #white; width: | + | {| class="wikitable" style="background-color: #white; width: 100%; margin: auto; text-align:left" |
| style="width: 20%; |B mode: | | style="width: 20%; |B mode: | ||
| Distance, angle, area, volume, trace length, distance ratio | | Distance, angle, area, volume, trace length, distance ratio | ||
| Line 97: | Line 95: | ||
=== Others === | === Others === | ||
| − | {| class="wikitable" style="background-color: #white; width: | + | {| class="wikitable" style="background-color: #white; width: 100%; margin: auto; text-align:left" |
| style="width: 20%;|Transducer connector: | | style="width: 20%;|Transducer connector: | ||
| 2 active transducer connector ports | | 2 active transducer connector ports | ||
Latest revision as of 07:17, 6 December 2018
|
|